Mastering the Jewelry Welding Process: Techniques and Tips for Perfect Results
Welding is a crucial technique in the jewelry-making process, enabling artisans to create intricate designs and ensure the durability of their pieces. Whether you're a seasoned jeweler or a hobbyist looking to refine your skills, understanding the various aspects of the jewelry welding process is essential. This article delves into the key techniques, tools, and best practices to help you achieve perfect results.
### Understanding Jewelry Welding
Jewelry welding involves joining two or more metal pieces to create a seamless bond. This process is vital for creating rings, necklaces, bracelets, and other ornate pieces. There are several welding methods used in jewelry making, including:
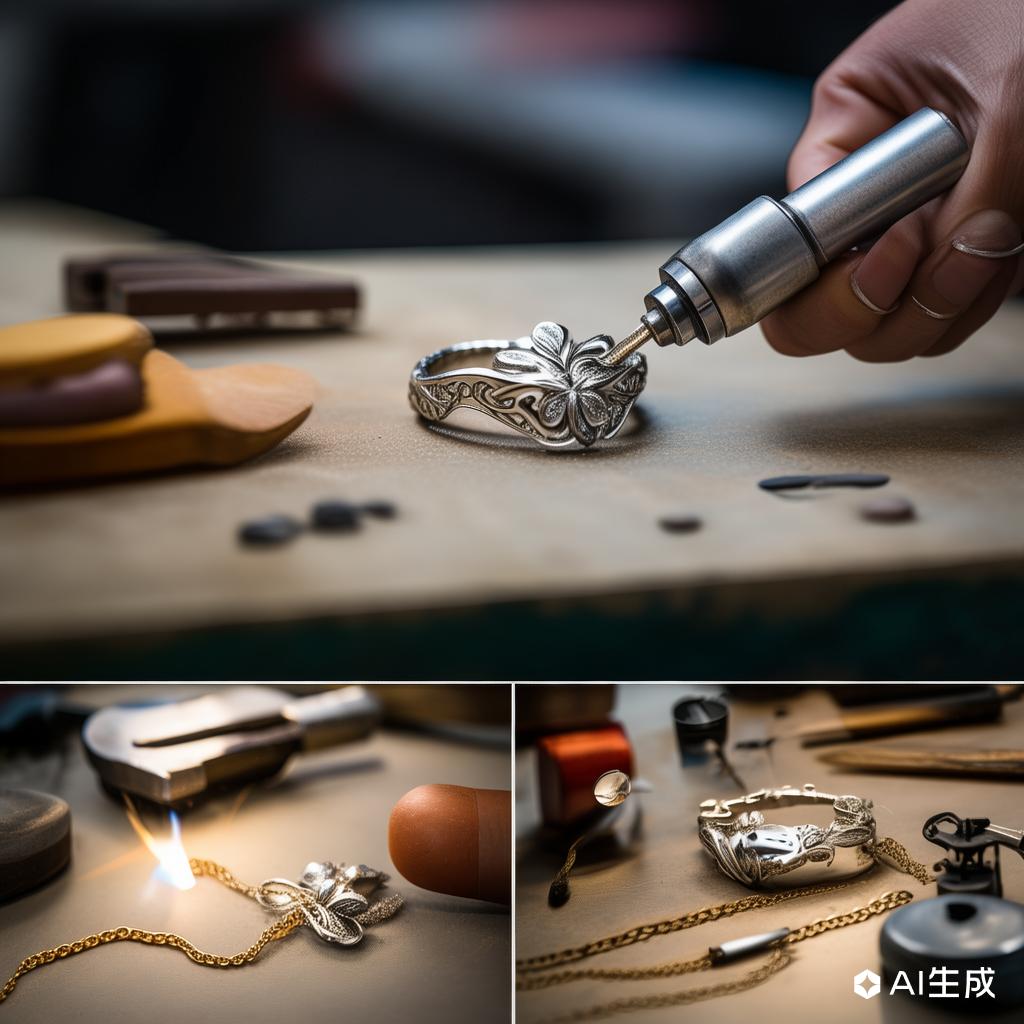
1. **Laser Welding:** Known for its precision, laser welding uses a focused laser beam to melt and join metals. It's ideal for delicate pieces and intricate designs.
2. **Torch Welding:** This traditional method uses a flame to heat the metal, often combined with a filler material to create a strong bond.
3. **Electron Beam Welding:** Utilizing a high-velocity electron beam, this technique produces high-quality welds with minimal distortion.
### Essential Tools and Materials
To excel in jewelry welding, you'll need the right tools and materials. Here's a list of essentials:
- **Welding Machine:** Depending on your chosen method, this could be a laser welder, torch, or electron beam welder.
- **Filler Material:** Used in torch welding to strengthen the joint.
- **Jewelry Pliers and Cutters:** For shaping and cutting metal.
- **Safety Gear:** Including goggles, gloves, and a ventilation system to protect against fumes and sparks.
### Step-by-Step Jewelry Welding Process
1. **Preparation:** Clean the metal pieces thoroughly to remove any dirt or oxidation. This ensures a strong bond.
2. **Positioning:** Secure the pieces in place using clamps or jeweler's tweezers.
3. **Heating:** Apply heat evenly using your chosen welding method. For torch welding, move the flame in a steady, circular motion.
4. **Adding Filler Material (if applicable):** If using a torch, introduce the filler material to the joint as the metal reaches its melting point.
5. **Cooling:** Allow the welded piece to cool gradually to prevent stress cracks.
6. **Finishing:** Smooth out any rough edges with files and sandpaper, then polish the piece to a shine.
### Tips for Successful Jewelry Welding
- **Practice Makes Perfect:** Start with simple projects and gradually move to more complex designs.
- **Control the Heat:** Overheating can damage the metal, while insufficient heat may result in weak joints.
- **Safety First:** Always work in a well-ventilated area and wear appropriate safety gear.
- **Quality Materials:** Use high-quality metals and filler materials for the best results.
By mastering these techniques and following best practices, you can create stunning, durable jewelry pieces that stand the test of time.